2023-07-14
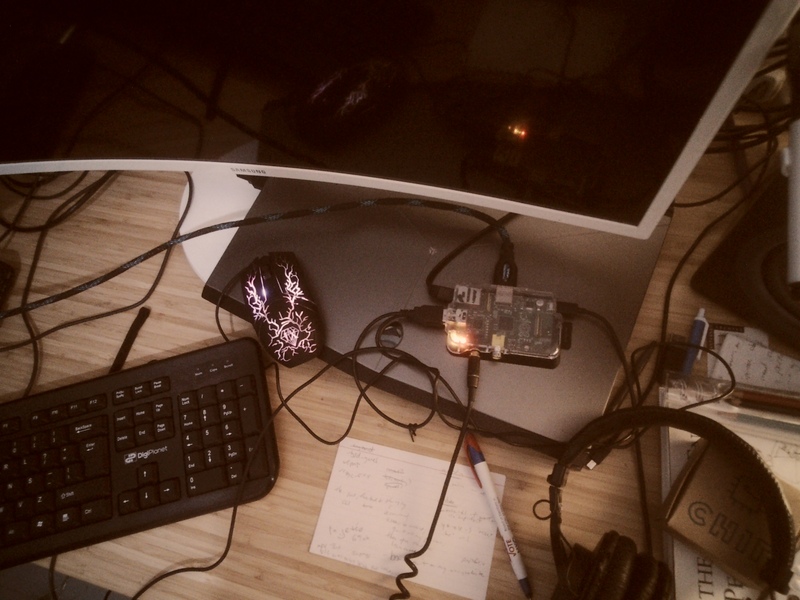
In this tutorial I walk-through how I set up void linux on an old 2013 Raspberry Pi 1B, then installed a GUI and configured it with i3 window manager, and the basic software I use. A follow-up post will be on my experience using this set-up for the Old Computer Challenge V3. I had originally started using a Chip computer but I rendered it unworkable earlier in the week so pulled out this old Pi I had.
I did not set up wifi or a wifi card but instead just plugged the device directly into ethernet, which simplified my setup a bit. Note: I'm not an expert, just an ambitious coder-tinkerer. Directions may not work for everyone nor in all situations. You'll likely need ingenuity to solve challenges, and things could diverge from what I describe here. Follow at your own risk.
Download current Void linux Raspberry Pi.
I have a Raspberry Pi 1B that I bought in 2013 or 2014. So I checked the wiki and then downloaded the armv6l image.
Void Linux - Supported Platforms - Raspberry Pi
The current image is 2.1GB so you'll want at least a 4GB SD card (that's what I used).
Attach the SD card to your main computer. Format it. Then use dd to write the Iso you just downloaded to the SD card. Make sure you're writing to the correct SD card. You can check various ways, including just by opening your file system. On my computer it was sdb.
dd if=void-rpi3-*.img of=/dev/sdb bs=4M status=progress
The * will be replaced with the correct downloaded image name.
When it finishes writing the SD card, unmount/eject from your computer.
Now with your Raspberry Pi in hand push the SD card firmly into the slot. Attach keyboard, mouse, hdmi cable (or S-video cable) and connect to power.
Easiest way to get internet. Plug a cat5 Ethernet cable right in that thing.
If all goes well you'll see void linux booting up.
When you get to login
name: root
password: voidlinux
You'll be dropped into the shell prompt (with #):
We won't be able to download anything because the internal clock thinks it's January 1, 1970. So first thing was I set the clock:
date -s "14 July 2023 18:00:00"
Set to your correct date and time.
Update xbps itself. First I tried running sudo xbps-install -Suv but it prompted me to update xbps first. It gave me the command and I ran it and forget but I think that was sudo xbps-install -u
Afterwards, I ran a general update all:
sudo xbps-install -Suv
# useradd -m voidpi
# passwd voidpi
...  ← here you enter the password for the new "voidpi" account
This and additional info I found on the Void FAQ.
Now let's add voidpi to the sudo'ers
visudo
This opened the sudo'ers file with vi on my machine. I hope you can use vi! Otherwise you should install nano first and set that as your editor. Anyway, assuming you open it in vi navigate down with the arrow keys or j for example. Navigate down to the line immediately following ## Uncomment to allow members of group wheel to execute any command.
Press x once to remove the # and then again to remove the space (i'm not sure if that's necessary to remove the space, but I did in case it is).
Quit by pressing
Escape. Then colon-q-w like this :qw
In the command line, let's add our new voidpi user to the wheel group.
sudo usermod -aG wheel voidpi
Type exit and hit enter.
Now log in as your new username and password.
sudo xbps-install vpm
I use vpm instead of xbps because it's easier for me to remember than all the xbps commands and easier to type and feels more intuitive, like apt was on debian.
I use the non-free repos as well, so let's install that.
sudo vpm install void-repo-nonfree
I installed a bunch of programs I use.
sudo vpm install links git w3m fff nnn curl neofetch ImageMagick fish-shell
That was less than 100mb for me, but maybe that's too much for you. Install what you want.
I prefer fish to dash or bash.
chsh -s /usr/bin/fish
Let's fix the clock since there's no hardware clock on the Raspberry Pi 1. Install chrony and enable the service in runit.
sudo vpm install chrony
sudo ln -s /etc/sv/chronyd /var/service
Then I restart
sudo reboot
I use the i3 window manager.
There are definitely tradeoffs to using a GUI on such an old underpowered computer. After this install I considered downgrading back to CLI only except that I liked having multiple screens with i3 and the Lagrange gemini client and photos.
sudo vpm install xorg xterm i3 i3status dmenu
That was about ~170mb for me.
There are a few options, but first I chose to set up i3 to run manually:
echo "exec i3" >> ~/.xinitrc
To launch i3 manually, run
startx
The first time you run i3 it'll run the setup wizard. You choose the mod key. I use alt.
Going forward, perhaps we want the traditional login experience of starting at a login screen and booting into i3. To set this up with the minimal lightdm:
sudo xbps-install -S lightdm lightdm-gtk3-greeter
sudo ln -s /etc/sv/dbus /var/service/dbus
sudo ln -s /etc/sv/lightdm /var/service/lightdm
To launch a terminal Mod+Enter.
To open dmenu launcher, Mod+d.
To quit a program Mod+Shift+q.
To jump to another workspace, Mod+1 (or any other number key).
Read more about i3 in its documentation.
i3's default terminal is UXterm. I also sometimes use xterm.
I downloaded the opendyslexic font.
sudo vpm install font-open-dyslexic-ttf
You can search and find other fonts in the repos or install manually.
To see a list of your fonts:
fc-list | col | sort | less
Test out a font you installed, for example
xterm -fa 'Liberation Mono' -fs 10
Next I customized the Xterm and UXTerm defaults.
vim ~/.Xdefaults
I added these lines, to change the default font and size in both terminal. If you just use UXTerm then you only need those lines.
XTerm*faceName: OpenDyslexicMono
XTerm*faceSize: 12
UXTerm*faceName: OpenDyslexicMono
UXTerm*faceSize: 12
Let's get some graphical software while we're at it. I don't want Chromium or Firefox because I think it'll be too slow and I have so little space left. So I'll download the minimal netsurf and dillo browsers.
sudo vpm install feh netsurf dillo
To use netsurf:
netsurf example.com
Once netsurf has opened you can open the preferences and change your default home URL and the search engine. I changed to DuckDuckGo from Google. Now in the future I can launch it with dmenu.
Dillo can also be launched with dmenu. See which one you prefer.
I was able to login using brutaldon.org web client on netsurf, but not Dillo. But it was too slow to really browse.
So I downloaded toot which has the toot_cli login and a tui to browse Mastodon. But I can't see everyone's posts simultaneously and don't really like this, so I installed tootle GUI program.
sudo vpm install tootle
To launch in dmenu it has a longer funny name com.bleakgrey.github.tootle. No matter, it works. It took me a few times to authorize (it launched my netsurf browser and had me login to my instance), but I eventually got it to work.
I had already downloaded the tui gemini client amfora, but I needed to fix it so that amfora looks good. In UXTerm I couldn't make out any links numbers until I changed my color scheme. And since I am the creator of the slimey.toml theme for Amfora, I changed to that by modifying the theme at ~/.config/amfora/config.toml
I downloaded offpunk gemini client / web client.
git clone https://git.sr.ht/~lioploum/offpunk
I installed some optional add-ons, for ASCII rendering of images, and for improved readability.
sudo vpm install chafa
sudo vpm install python3-readability-lxml
There's also gplaces client, but full install was 40MB plus needing GCC to compile, another 160MB, wasn't worth it to me, so I didn't install it. If I had a much bigger SD card, I'd have tried it.
I tried installing Lagrange the GUI gemini client. I was shocked, first that it was only about 6MB, secondly at its speed on this old slow computer. Highly recommended. Worth running the GUI for this alone!
That's it for now. I'll add a follow-up post more about the actual experience running this system in the next couple days.
Check out my earlier post on trying the Old Computer Challenge.
---To leave a comment, email lettuce at the ctrl-c.club domain and state comment and the post title in your subject. Please list your name you'd like credited for the comment.